Technology
How To Make a Wig On a Dome Cap
How To Make a Wig On a Dome Cap: A Step-by-Step Guide
Introduction:
Wigs have become an essential accessory for individuals seeking versatility and style in their hair. While there are various types of wigs available, dome caps have gained popularity due to their lightweight construction and natural appearance. In this blog, we will explore the process of making a wig on a dome cap, empowering you to create a personalized and comfortable wig that perfectly suits your needs.
Step 1: Gather Your Materials
To start your wig-making journey, you'll need a few essential materials:
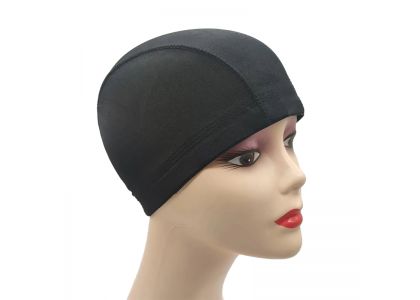
1. Dome cap: Choose a dome cap that matches your head size and desired wig style.
2. Wig hair: Opt for high-quality human hair or synthetic hair extensions, depending on your preference and budget.
3. Wig stand: A stand will help keep your wig secure and stable during the creation process.
4. Wig clips: These clips will be used to secure the wig onto your natural hair.
5. Needle and thread: Select a thread color that matches the color of the dome cap and hair.
Step 2: Prepare the mesh dome wig cap
Before attaching the hair, it's crucial to prepare the dome cap properly:
1. Place the wig dome cap on a wig stand or mannequin head to maintain stability during the process.
2. Use a measuring tape to ensure the cap is centered and properly aligned.
3. Secure the cap onto the stand using T-pins or clips to prevent it from slipping.
Step 3: Sewing the Hair onto the adjustable dome wig cap
Now, it's time to sew the hair extensions onto the dome cap:
1. Take a weft of hair extensions and align it with the edge of the dome cap, starting from the nape area.
2. Use the needle and thread to sew the weft onto the cap, ensuring the stitches are tight and secure.
3. Continue attaching wefts row by row, moving upwards from the nape area to the crown, until the dome cap is fully covered.
4. Trim any excess hair along the edges of the dome cap for a clean finish.
Step 4: Customizing the Wig
To enhance the natural look and fit of your wig, consider the following customization options:
1. Create a natural-looking hairline: Pluck a few strands of hair from the front of the wig to mimic a natural hairline. Be careful not to pluck too much or damage the integrity of the wig.
2. Add baby hairs: Trim some hair near the hairline to create baby hairs, providing a more realistic appearance.
3. Style and shape the wig: Use heat styling tools, such as curling irons or straighteners, to achieve your desired hairstyle. Remember to follow the recommended heat settings for the type of hair you're using (human or synthetic).
4. Secure the wig: Attach wig clips or adjustable straps to the dome cap to ensure a secure fit on your head.
Conclusion:
Creating a wig on a black dome wig cap is a rewarding and cost-effective way to achieve a personalized and natural-looking hairstyle. By following these step-by-step instructions, you can embark on your wig-making journey with confidence. Remember, practice makes perfect, so don't be discouraged if your first attempt isn't flawless. With time and patience, you'll master the art of making wigs on dome caps, opening up a world of style possibilities for your hair.
 Contact us with Whatsapp